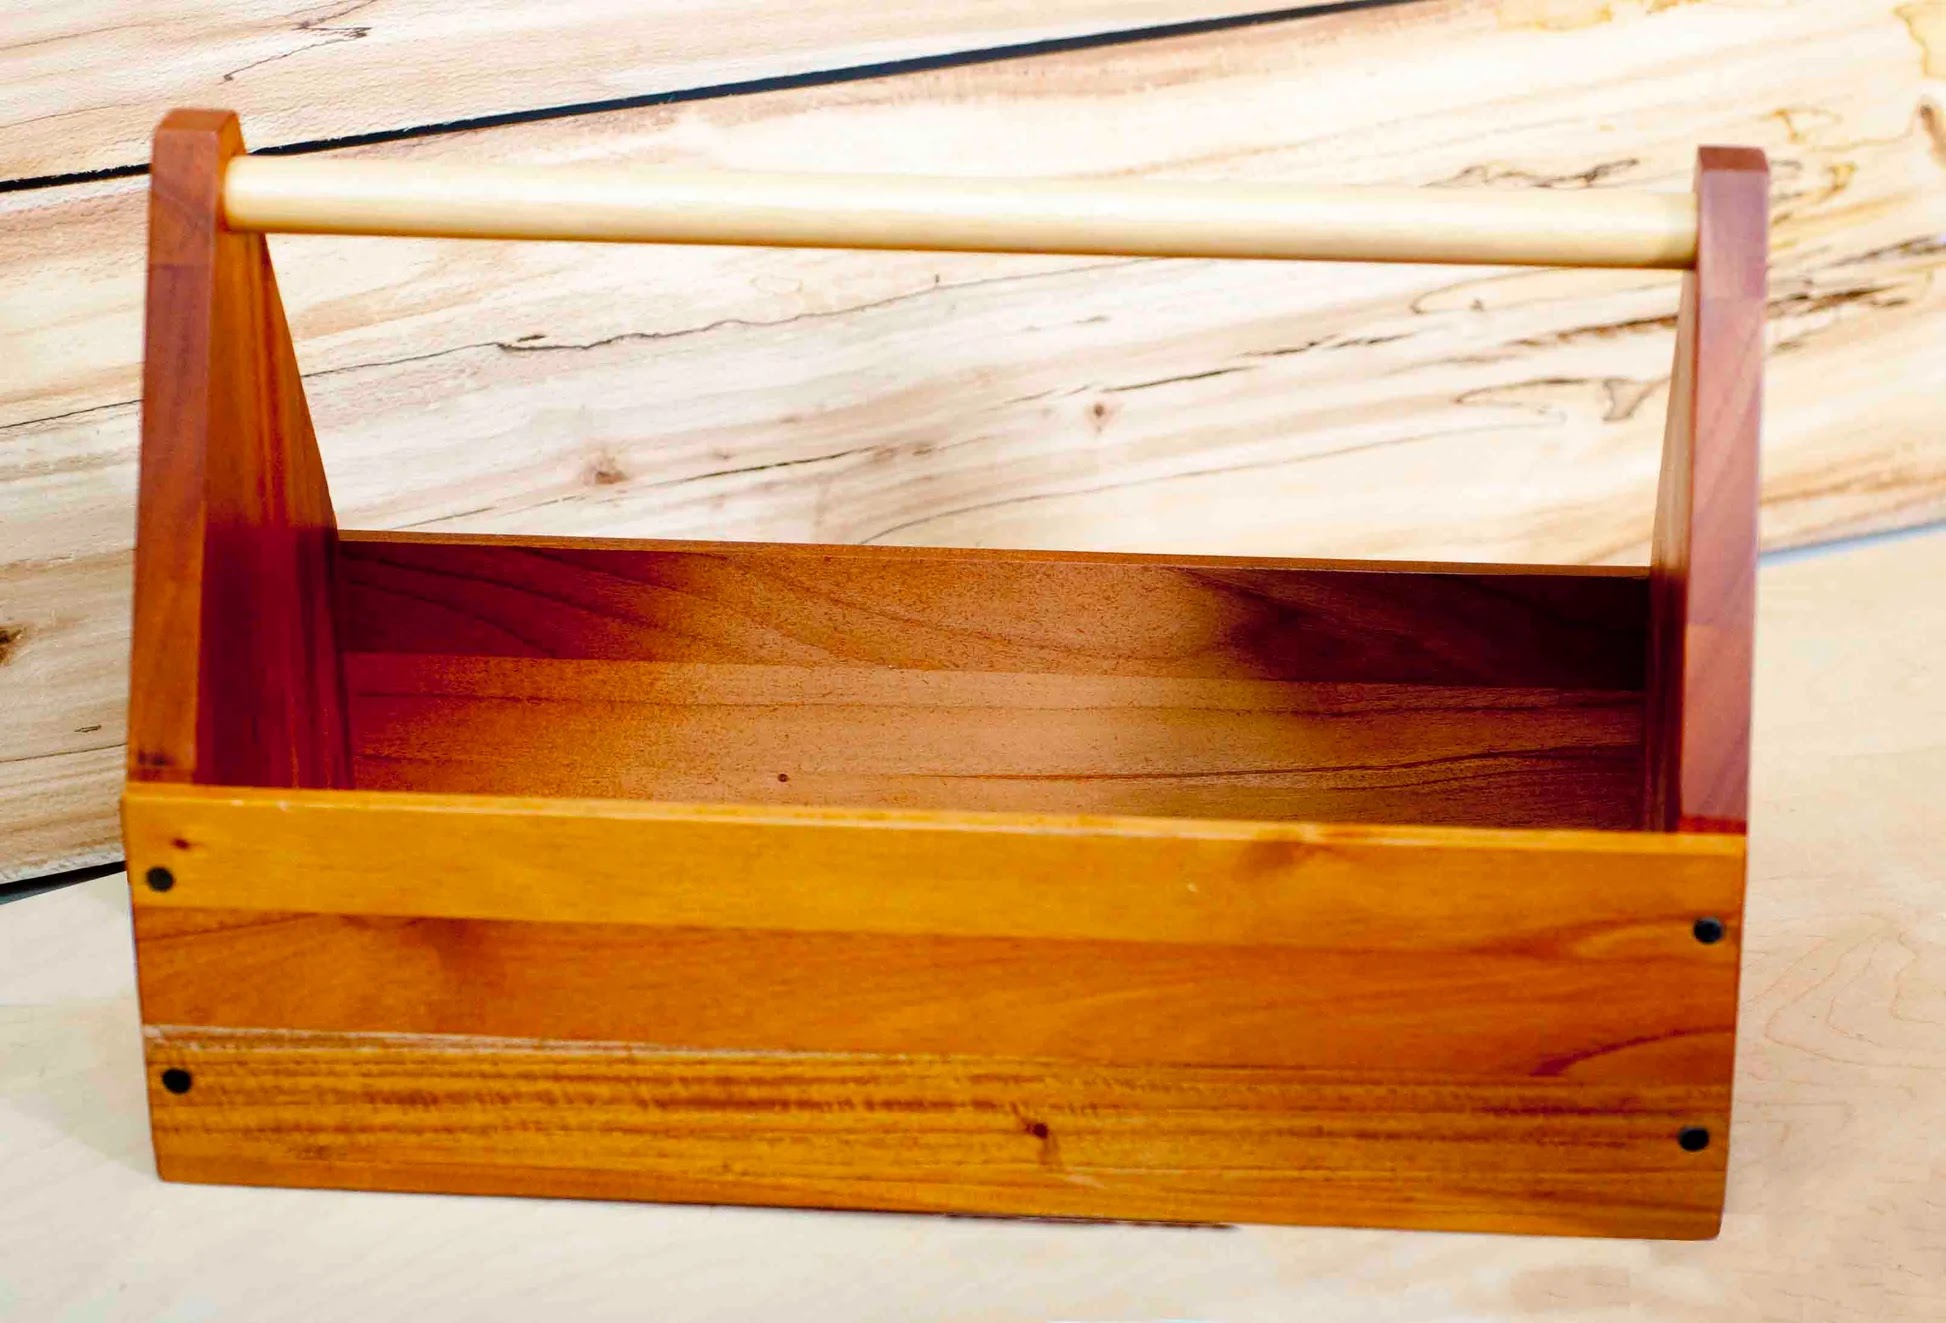
Simple Wooden Toolbox
Materials:
- Plywood or pine boards
- 2 sides: 12 in x 8 in (30.5 cm x 20.3 cm)
- 2 ends: 6 in x 8 in (15.2 cm x 20.3 cm)
- Bottom: 12 in x 6 in (30.5 cm x 15.2 cm)
- Handle: 14 in (35.6 cm) dowel rod
- Screws or nails
- Wood glue
- Paint or stain (optional)
Tools:
- Saw
- Drill
- Screwdriver or hammer
- Tape measure
- Sandpaper
Steps:
Cut the pieces:
- Follow the measurements above for sides, ends, and bottom.
Assemble the toolbox:
- Attach the sides to the ends with wood glue and screws/nails.
- Attach the bottom.
- Drill holes for the dowel rod handle and insert it.
Finish:
- Sand all edges and surfaces.
- Paint or stain if desired.
Now if you want to create the projects you've dreamed of - quickly and easily...
Here is how it works:

- Project planning and design during one of our workshop classes
In addition to the 16,000 plans, we release new plans every month drafted from our workshop.
You will get lifetime access to a membership area where you can download these new plans monthly.
There are NO recurring fees, no expiry date.
We've been releasing new plans for several years now to thousands of woodworkers.
You can even request a plan to be drafted for you and I'll make sure it gets drafted in the next cycle.

These projects provide a great starting point for beginners in woodworking, allowing you to practice basic skills while creating useful and attractive items.
Comments
Post a Comment